
My Assistant
 </td><td valign=top>Center Camera: Click this button to focus the camera on the center of a water plane. To focus on another water plane, select its name from the drop-down list and click the Center Camera button again.
 |
PCA_Water_Shaders.zip | ||
| Size: 8.43k | |||
| Number of downloads: 986 | |||
| Player Name | Side | Team | |
|
Non_PCA_Water_Shaders.zip | ||
| Size: 49.86k | |||
| Number of downloads: 767 | |||
| Player Name | Side | Team | |
|
Depth_Tints.zip | ||
| Size: 3.14k | |||
| Number of downloads: 706 | |||
| Player Name | Side | Team | |


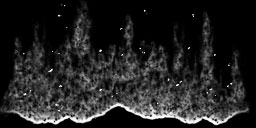
 </td><td valign=top>Center Camera: Click this button to focus the camera on the center of a wave line. To focus on another wave line, select its name from the drop-down list and click the Center Camera button again. (It doesn't seem to work though, but it will select the right wave line for you.)
 </td><td valign=top>Center Camera: Click this button to focus the camera on the center of a river. To focus on another river, select its name from the drop-down list and click the Center Camera button again.
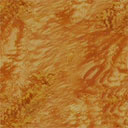


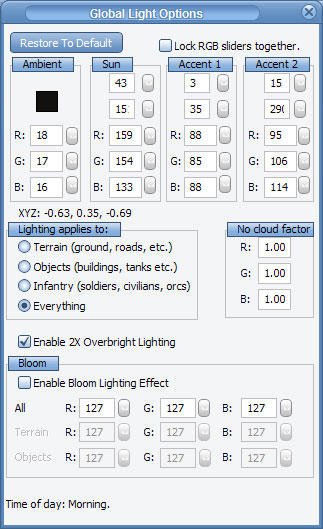 </td><td valign=top>Restore To Default: Click this button to restore the default lighting settings for whatever Time of Day you have enabled for your map.
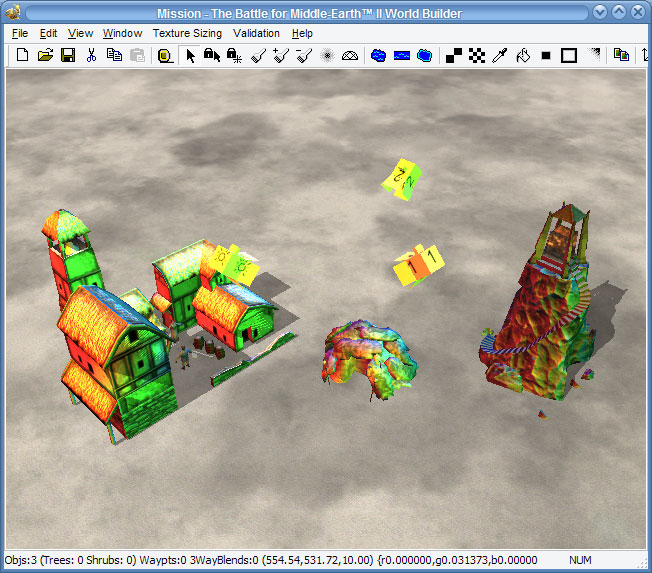
 </div>Sun: This sets all the options for your Sun light, and the Sun light is represented on your map as a yellow light box with a sun icon on it. The first slider sets the vertical angle of the Sun light, from 0-90 degrees. A value of 0 would shine the light horizontally across your map, whereas a value of 90 would shine straight down from above the map. The 2nd slider sets the horizontal angle of the Sun light, from 0-359 degrees. A value of 0 would shine the light from the west, whereas a value of 90 would shine from the south, whereas a value of 180 would shine form the east, etc. The 3rd, 4th, and 5th sliders below allow you to select the RGB color of the light.
 </div>Accent 1: This sets all the options for your Accent 1 light, and the Accent 1 light is represented on your map as a yellow light box with a the number 1 on it. These options work just like the Sun light options.
 </div>Accent 2: This sets all the options for your Accent 2 light, and the Accent 2 light is represented on your map as a yellow light box with a the number 2 on it. These options work just like the Sun light options.
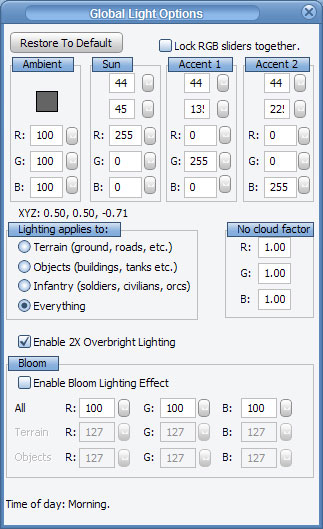


Posts: 660
Game: 

 or shall i create some sort of final.big file?
Posts: 24
Game: 
Posts: 660
Game:

 why? and how shall i get it to work?

Posts: 23,005
Game: 


 well, if i get more problems, I will post it here
Posts: 23,005
Game:


Posts: 2,847
Game: 
Posts: 23,005
Game:


Many thanks to Dave (LongbottomLeaf) for helping me get some of my facts straight!
LAKES AND OCEANS
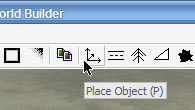
- Using the Lake/Ocean Tool
- Lake/Ocean Options
- FX Shaders
- Depth Colors
- Using the Wave Tool
- Wave Options
- Lake/Ocean Reflections
RIVERS
- Using the River Tool
- River Options
- River/Noise/Alpha Edge/Sparkle Textures
- River Reflections
CLOUDS AND LIGHTING
- About "Time of Day"
- Global Lighting Options
- Using Sky Domes
WEATHER
- About Weather
- About Fog
Posts: 2,360
Clan: The Holy and the Damned
Game: