
In this modification hord size and formation has been changed |
| Welcome Guest ( Log In / Register ) |
|
 |
Quick Lists Top RatedTutorials Living World Map G Ultimate beginner' Arrow scaling bug Raising Heroes max Proper Fire Arrow Creating an asset. Simple Structure B Making a simple Ma Quick and easy sno Making patrols nea Mods The Dwarf Holds The Peloponnesian RJ - RotWK The Elven Alliance Helm's Deep Last H The Elven Alliance Special Extended E Kings of the West RC Mod The Wars of Arda Downloads BFME1 1.06 Widescr Enhanced W3D Impor Fudge's Map Pack LotR/BfME HD Logos Osgiliath Shellmap Crystals Of Ancien 2v1 Wold The forests of Dru Converted BFME2 an ROTWK animations f |
|||||||||||||||||||||||||
 |
Register and log in to move these advertisements down Creating Basic Normal Maps
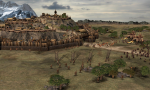
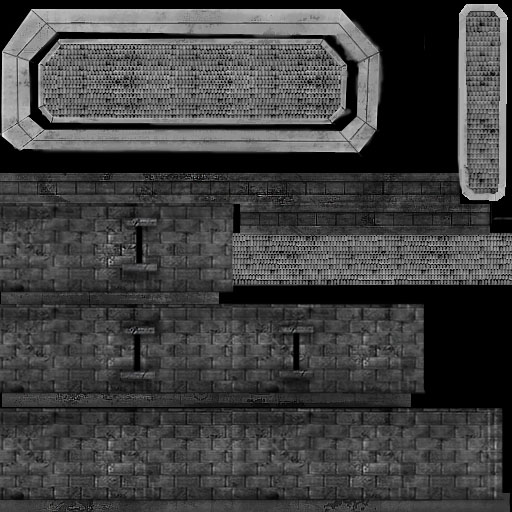
This is the sequel article to my previous tutorial on applying normal maps. Click any image to enlarge. Normal maps are used by some of EA's BFME2 buildings to add fake mesh detail to an object. They let you simulate bumps, hollows and the like on an otherwise flat surface. If you want to know more about how a normal map works, Ben Cloward has a nice introduction in his tutorial. That link is a good resource if you want to delve more closesly into actual normal map creation. Here's an example of a normal map that I created for my Royal Guard model: 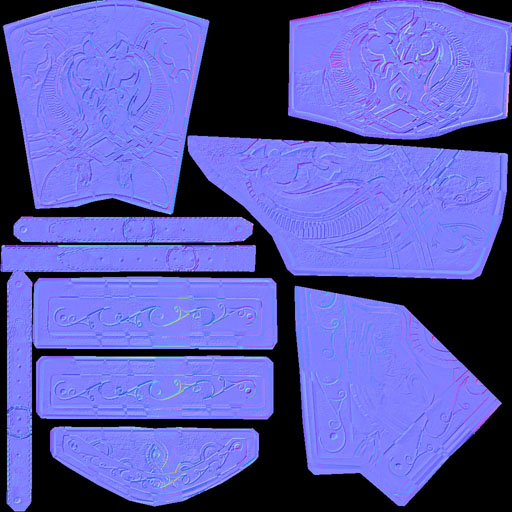 As you can see, it looks sort of strange. It's hard to tell how that might relate to adding detail to an object. However, we'll be getting to something like this at the end of the tutorial. The method I'm going to use here is the one most applicable to BFME - normal maps from bump maps. As an example model I'll be using a piece of a Dwarf building I made for BFME1. Take a look: 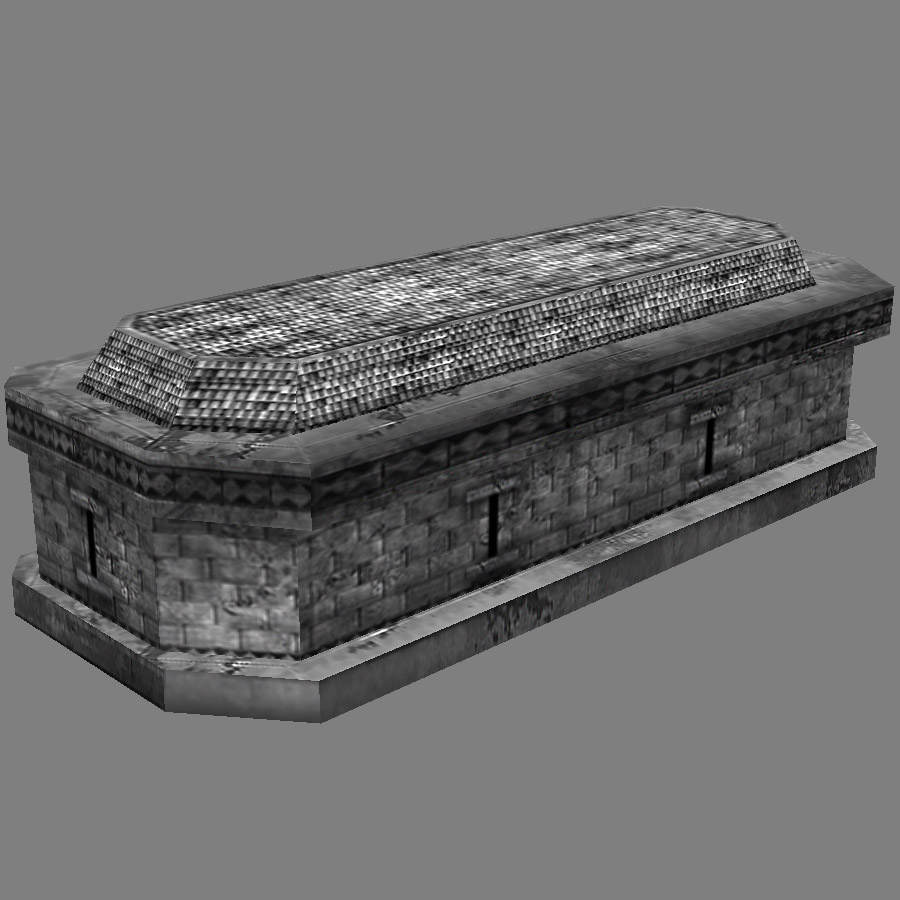 As you can see, that wall looks pretty flat, with just those bricks and the like sitting here. A normal map will help it look more 3D without actually needing any more polygons in the model. Before we begin, we will need NVIDIA's dds/normal map tools. You can find them here. These contain the dds tool and a filter for normal mapping. Once you install them, you should find the Normal Map Filter in your filters menu as follows: 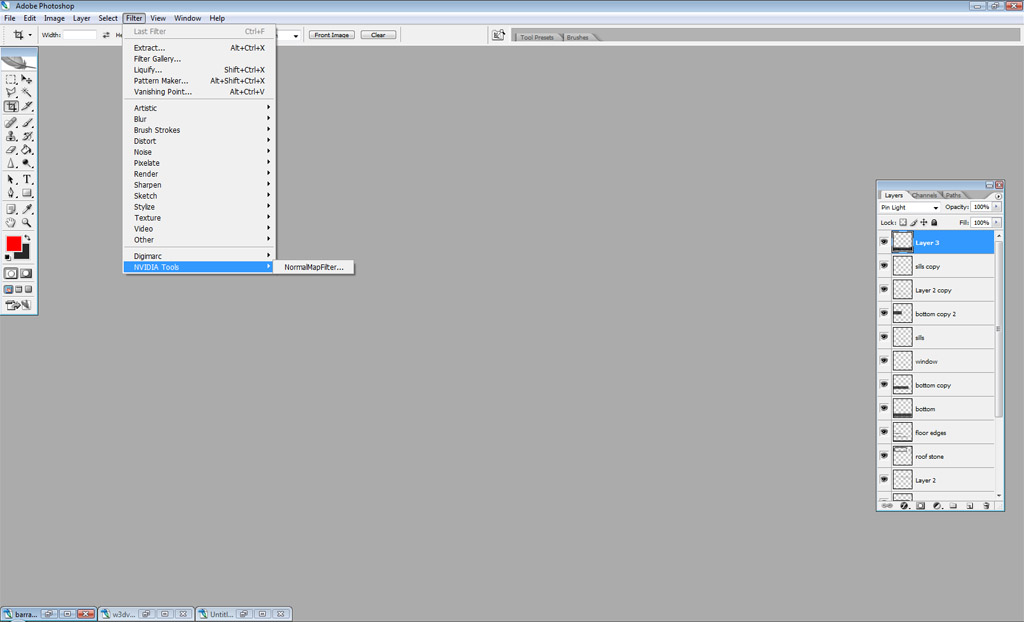 To create a normal map we will first be creating a bump map. What's a bump map? It's essentially an older version of a normal map, but has less built-in possibilities. A bump map is a single greyscale texture. Quite simple, dark areas on the texture are recessed, while light areas are higher. You might also find references to it as a heightmap. 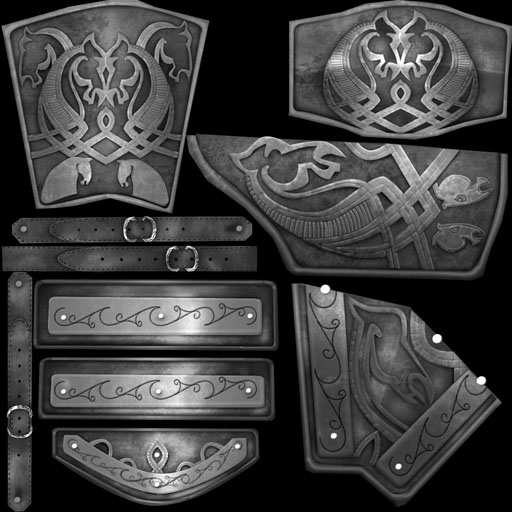 The bump map can be used to generate a normal map with the help of NVIDIA's filter. So, the creation of a bump map. This step is easy to execute, but takes a bit of thought and there are things you should pay attention to, so I'll go through it briefly. First, I'll load the texture file I want to use (the area of interest is circled in red).  I want to make the windowsills and the bricks stand out and look more 3D. The important thing to remember first is that anything that doesn't cause the surface to be deformed should not be considered in the map. Therefore, I'll hide my decorative triangles layers.  Next, I have to mentally create a hierarchy of heights. I need to know what objects are "higher" than others, and how much higher they are. This is done on a per-area (generally per face) basis. Looking at the w3d viewer screenshot, I have to establish hierarchies for the walls, the awning, the lintels and the roof. So, with 1 being "high" and the highest number being "low"; 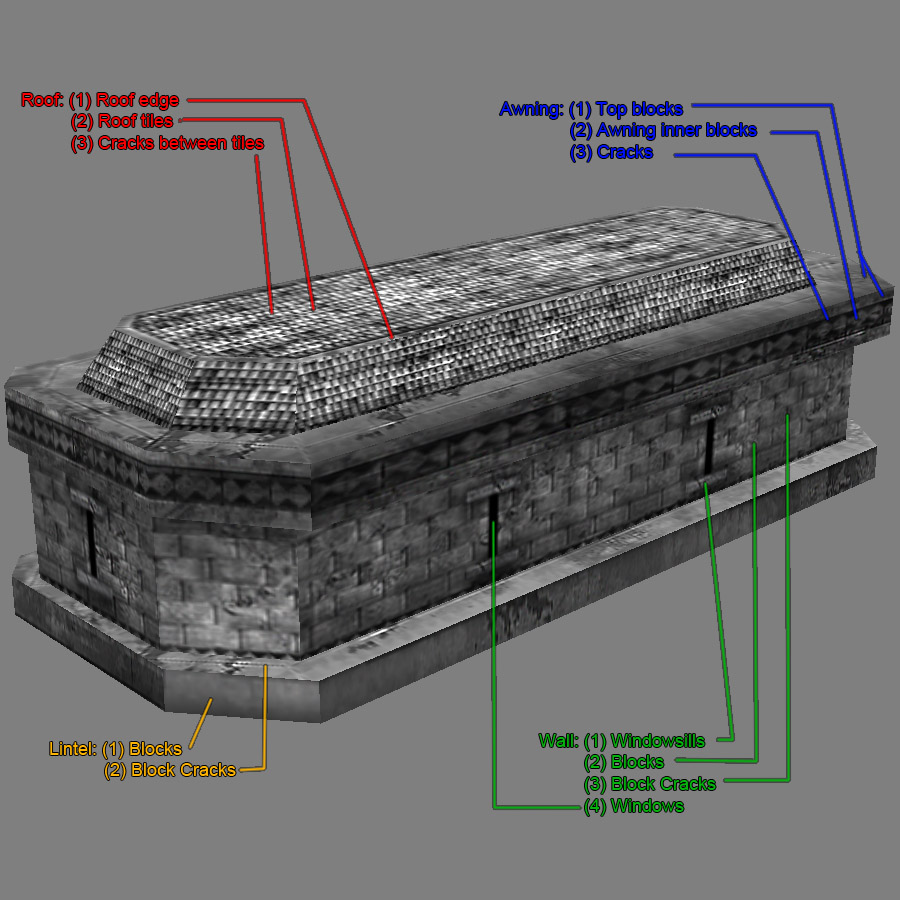 I've outlined these areas on the texture as well for your benefit: 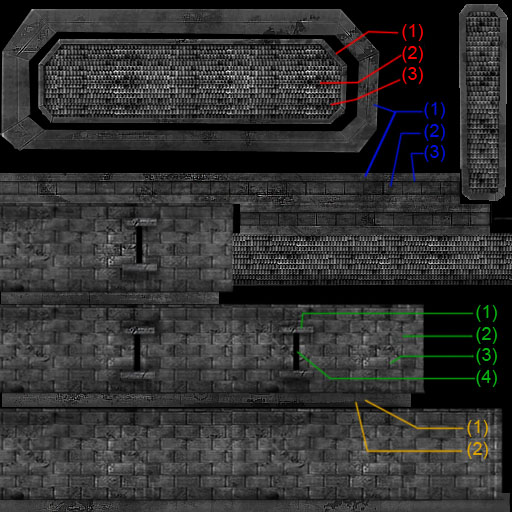 Then I convert the texture to greyscale. Now, since all my high areas are going to be the highest (so white) I can paint them in pure white. For example, the roof area. I paint the roof edge in pure white, and the roof edge cracks in pure black (they are the lowest). There are several ways of doing that. The one I usually use for quick generation is to open up the Levels (Ctrl-L) dialog:  You can use the settings here to maximize contrast and therefore separate the cracks from the actual blocks. However there is a problem with this... note how my stains and random cracks got super-emphasized as well! If this was the actual bump map, those areas would end up looking mighty recessed 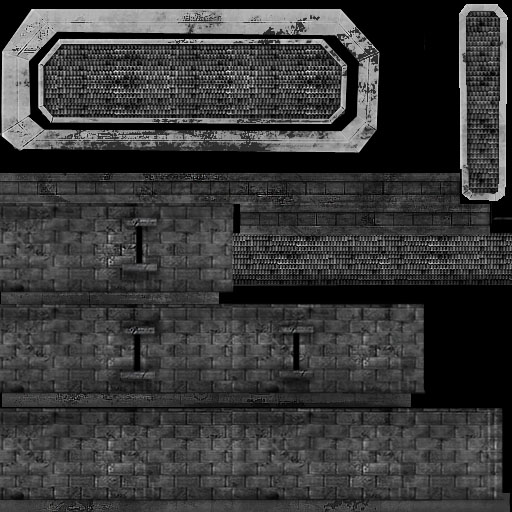 This has to be cleaned up manually. I take a low-opacity brush on white and erase the marks. Not completely though, as I might like some of my scratched up areas to be a little recessed 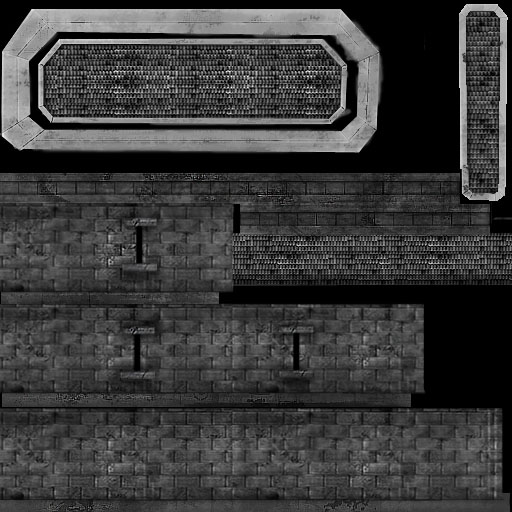 I can also take advantage of this time to make some of the recesses between the blocks darker and therefore lower  Note that I'm really not being as careful as I should here; some of those dark areas will really make the normal map look messy. Anyways not for the roof I must tackle the tiles. For this section I use levels again, but I must make it so the following criteria are met
 Only practice will allow you to get this perfectly correct (this one isn't). Just recall that really dark is REALLY low. Similarly, bright white will be quite high! Bright spatters are as bad as dark spatters. Avoid really sharp contrasts unless you really want the height difference to show up. Now I'm going to move on to the walls (the lintel and awning are pretty simple, I've done them here but I won't cover procedure). So, the highest spot on the walls are the windowsills. I'll make them nice, bright and white. 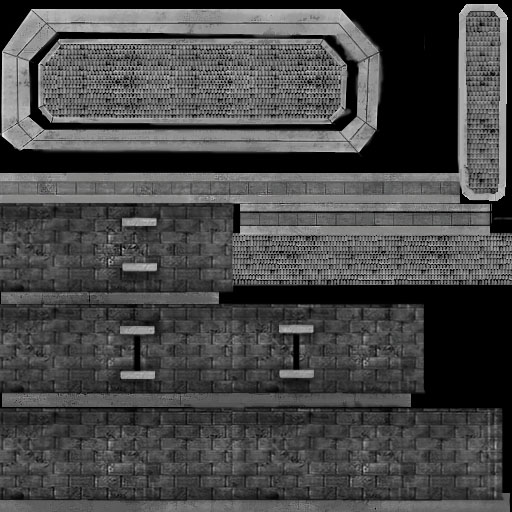 Next, the walls themselves will have to be lighter than the black windows, but darker than the windowsills 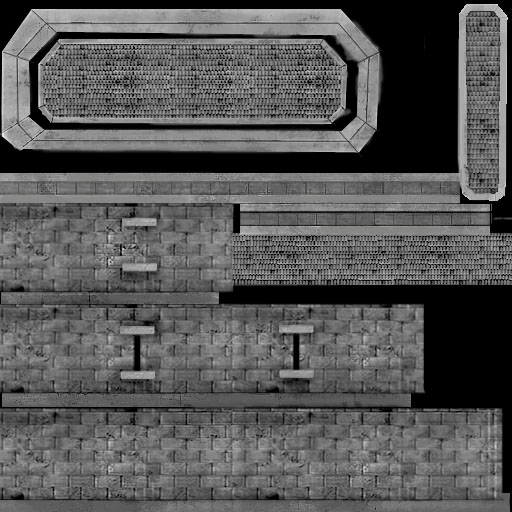 That scarring will really show up on the map. Cleaning it up is tedious... but should be done. Also note the darker areas to the top and bottom - these were shadows I faked on the diffuse texture. They will have to go! 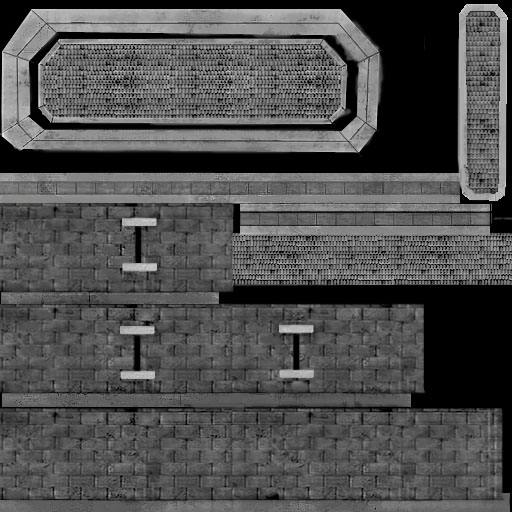 This is what I'm going for. It's not awesome, but it will do for the purposes of this tutorial. As you can see, I lightened the windowsills even further to emphasize them more. It is still very bumpy - this will be quite evident on the finished model. Links / Downloads
CommentsDisplay order: Newest first Adamin - Friday March 12, 2010 - 8:05 Thank you very much. Creating a normal map worked quite well with this instruction. But I have one question: Shouldn't the "Invert Y" option in the normal map filter be ticked? Otherwise the lighter (therefore higher) parts of the bump map seem to go down on the normal map. Or is this irrelevant? Sulherokhh (Team Chamber Member) - Wednesday April 29, 2009 - 1:45 Yippee! :P Never knew what a bumpmap was until now! :D |
 |
|||||||||||||||||||||||||

"One site to rule them all, one site to find them, © All Rights Reserved Eric Edwards ©2013. |
|||||||||||||||||||||||||||


